Instructions
In this article:
Instructions#
Associating multiple Elastic IP addresses to the same instance in a subnet#
Important
If Private IP you try to assign is already associated with another instance or belongs to a different subnet, an error message appears. Also, the first and the last IP addresses of a subnet cannot be allocated.
To associate multiple external Elastic IP addresses to an instance (for example, if you want to configure VRRP), follow the steps:
In the Network interfaces section, create a network interface in the subnet where the instance is located. When creating an interface, specify a Private IP from the CIDR block of the selected subnet.
Disable Source/Destination check both on the existing interface attached to the instance and on the new network interface (by default, this feature is enabled for all subnet interfaces you create).
In the Elastic IPs section, allocate an Elastic IP and associate it with the network interface you have created.
Associate Private IP as the second address on the interface inside Windows or Linux.
An example below shows how to make it in Windows:
Start Control Panel Network and Internet Network and Sharing Center Change Adapter Settings.
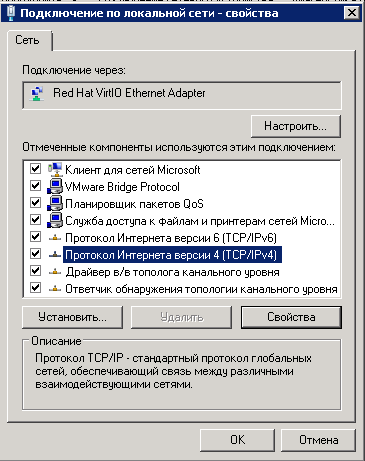
Select Local network connection, right-click, and select Properties.

Select Internet Protocol version 4 (TCP/IPv4) and click Properties.
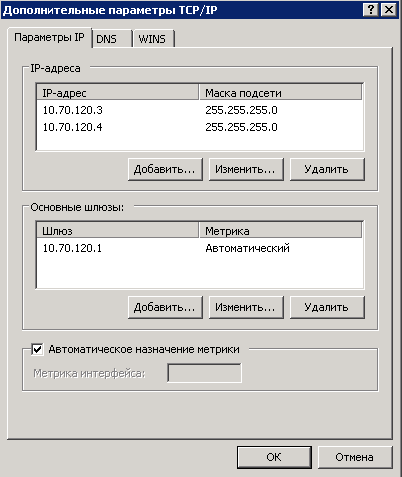
In the dialog window, select Use the following IP Address and click More…
Specify the Private IP that the cloud DHCP server allocated to the instance when it was created and the new Private IP that was allocated in step 1. To view the current local address, use ipconfig (WIN+R cmd ipconfig) or open the instance page.

Important
If you assign addresses manually, keep in mind that the 255.255.255.0 mask is used, and the last octet of the gateway address is 1. For example, the default gateway for 10.70.120.4 is 10.70.120.1.
A configuration example is shown below:
Now, the Windows instance is accessible at the additional external Elastic IP.
An example of how to associate EIP in Linux:
First, let’s see what interfaces are available. To do this, use
ifconfig: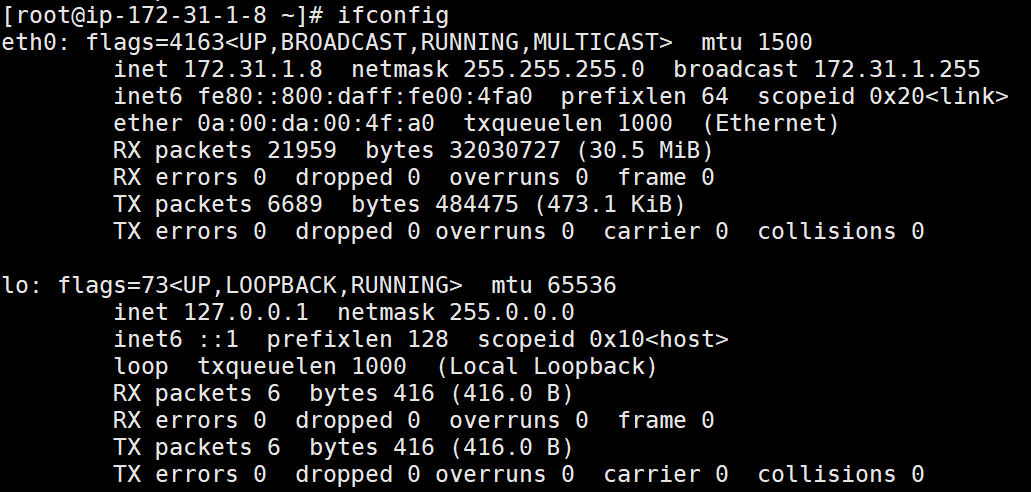
In the example, it is
eth0. To add a second Elastic IP address in CentOS 7, define an alias:nano /etc/sysconfig/network-scripts/ifcfg-eth0:0Add the following parameters:
BOOTPROTO=static
IPADDR=172.31.1.9
NETMASK=255.255.255.0
ONBOOT=yes
where DEVICE is an alias name, BOOTPROTO is an IP allocation method (static), IPADDR is a Private IP of the second network interface, NETMASK is a subnet mask (it can be found in the Subnets section), and ONBOOT specifies whether this interface should be brought up when starting the network service.
Save the file and close the editor (CTRL + O; Enter; CTRL + X)
Reload configurations after changes:
systemctl restart network
Now, the Linux instance is accessible at the additional external Elastic IP.