Instructions
In this article:
Instructions#
Adding public SSH key in Linux#
Follow the instruction below to add a public key in Linux distribution:
Determine a file, in which public keys are stored in the system by executing the following command:
$ cat /etc/ssh/sshd_config | grep -i authorizedkeysfile
AuthorizedKeysFile .ssh/authorized_keys
In-home directory, create a subdirectory and a file if they do not exist (in the command output at step 1 — this is the
.sshdirectory where the authorized_keys file is stored).Important
The .ssh directory and authorized_keys file should belong to the user who will log into the system (if the directory is created by a superuser, then root will be its owner). To change the directory owner, use
sudo chown -R ec2-user command:ec2-user /home/<username>/.ssh/Using a text editor (vim, nano, etc.), add the public key content to the
authorized_keysfile. If the file already contains any other public key, you may not delete it, but just add the new public key to the file. In this case, you will be able to use two different private keys to log into the system via SSH. Below is an example of a public key:
Important
The public key is solid text without any spaces or line breaks.
Once a new public key is added, you have to restart sshd:
For systems running SysVinit (CentOS 6):
sudo /etc/init.d/sshd restart
For systems running Systemd (CentOS 7):
sudo systemctl restart sshd
Adding public SSH key in Putty#
Putty uses its own key format (.ppk). To use a third-party private key in Putty, you have to convert it using puttygen first:
Open PuTTY Key Generator and go to Conversions Import key.
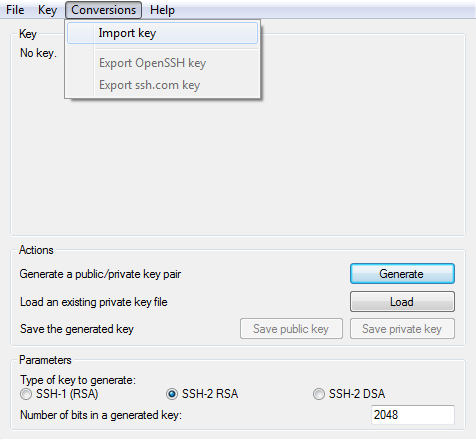
In the dialog window, select private key (usually it is in OpenSSH format and has the name .private).
Once the selection is made, the window will be filled with the key data.
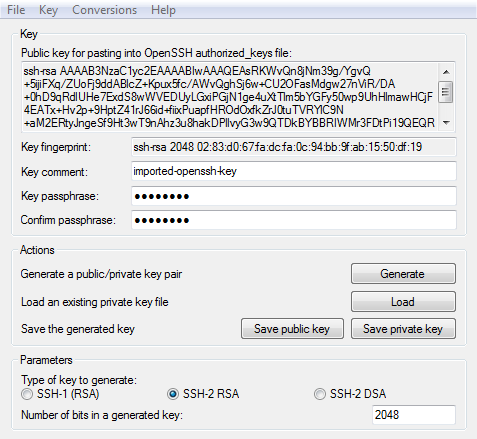
In this window, you can leave a comment in the Key comment line. In addition, you need to add a passphrase to the private key in the Key passphrase and Confirm passphrase lines.
Click Save Private Key to save the private key in the format acceptable by PuTTY.
If the same public key is used on multiple severs then you do not need to store private key on each server in order to attach to another server. You can use Pagent (PuTTY authentication agent) for this purpose. To add a key to Pagent:
Run pagent.exe. After launch, the program icon will appear in the system tray.
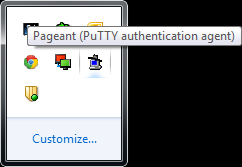
Double-click the Pagent icon in the system tray to manage keys.
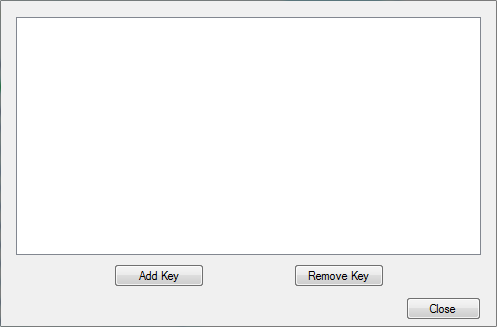
In this window, click Add Key and in the window that opens, select a private key in .ppk format. If the key has a password, then when adding it, you will need to enter passphrase in the dialog window.
Alternatively, you can use the following feature to add a private key to Pagent easier:
Create a shortcut for the Pagent software.
Right-click the shortcut and select Properties.
In the Target field, add space followed by complete path to the private key in .ppk format
Next time, when you open this shortcut, the private key will be automatically added to Pagent.
To use Pagent in PuTTY, perform the steps:
Run putty.exe.
Go to Connection SSH Auth.
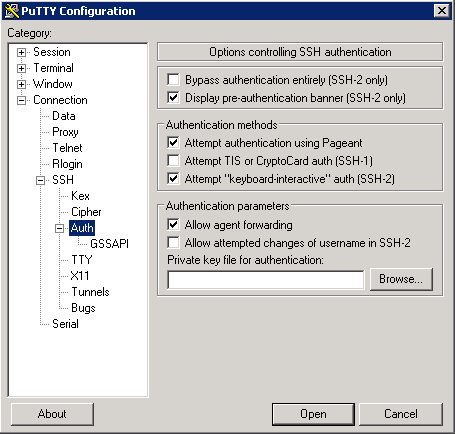
Select the Allow agent forwarding checkbox in this tab.
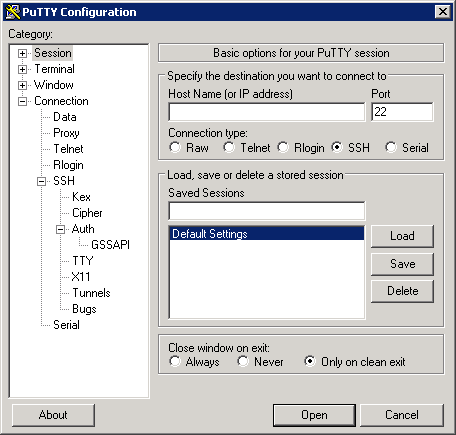
Open the Session tab, select Default Settings, and click Save.
Now, when creating a new connection, its settings will indicate the use of Pagent for key forwarding. You can avoid using Pagent, if in step 3, instead of Allow agent forwarding, click Browse and select a private key that will be used to connect via SSH to the virtual machine.